• Home
  • Beauty
  • Fashion
  • Makeup
  • Review
  • About
  • Contact

DHAWANSHI

Hello beautiful people!

I’ve been planning to make this post since a long time. Now I finally made it, along with a video. Many people have been asking me to film a make up video, so here it is. Shout out to all three of you! You know who you are.

Making this video was a huge step out of my comfort zone and I’m pretty proud of myself.

Anyways this is how I apply my makeup on an everyday occasion. I don’t wear makeup everyday, but whenever I do it’s either on some special occasion or if I’m going out to meet friends. This could be too much for some people for an everyday look but to be honest, these products are not too heavy, they let your skin breath and even the amount that I apply is not a lot. My main goal is to have an even tone all over my face, and that is the whole purpose of why I use foundation.


So before hopping on to my whole makeup routine I prep up my skin by rubbing ice all over my face. It closes all the pores and makes your skin a little tight. Making the makeup application effortless. It also refreshes you so if it has been quite some time since cleansing up your face you can just do this because come on you can’t wash your face multiple times a days with soap, it’ll do more harm than good.
After that step I apply the Himalaya youth eternity under eye cream under my eyes and on top of the eyelid to hydrate them since those areas are pretty dry.


So my skin has been pretty dry off lately and to hydrate it I have been using Jojoba oil to bring back the moisture. I use the one from juicy chemistry. I applied just a little, enough to get hydration and make my skin a little tacky to help the foundation stick on my face.


Here’s the video on how I do my everyday makeup.


Products used:

FACE

Primer:
  • Benefit cosmetics porefessional
  • Smashbox photo finish primer water

Foundation:
  • Maybelline Fit me! (shade: 322, warm honey)

Concealer:
  • MAC Pro longwear concealer (shade: NW35)

Powder:
  • Innisfree no sebum mineral powder

Contour:
  • NARS Cosmetics pressed powder (shade: Valley; I know this is a pressed powder but I find that this dark shade works great for contouring)

Blush:
  • Milani powder blush (shade: 08; Tea rose)
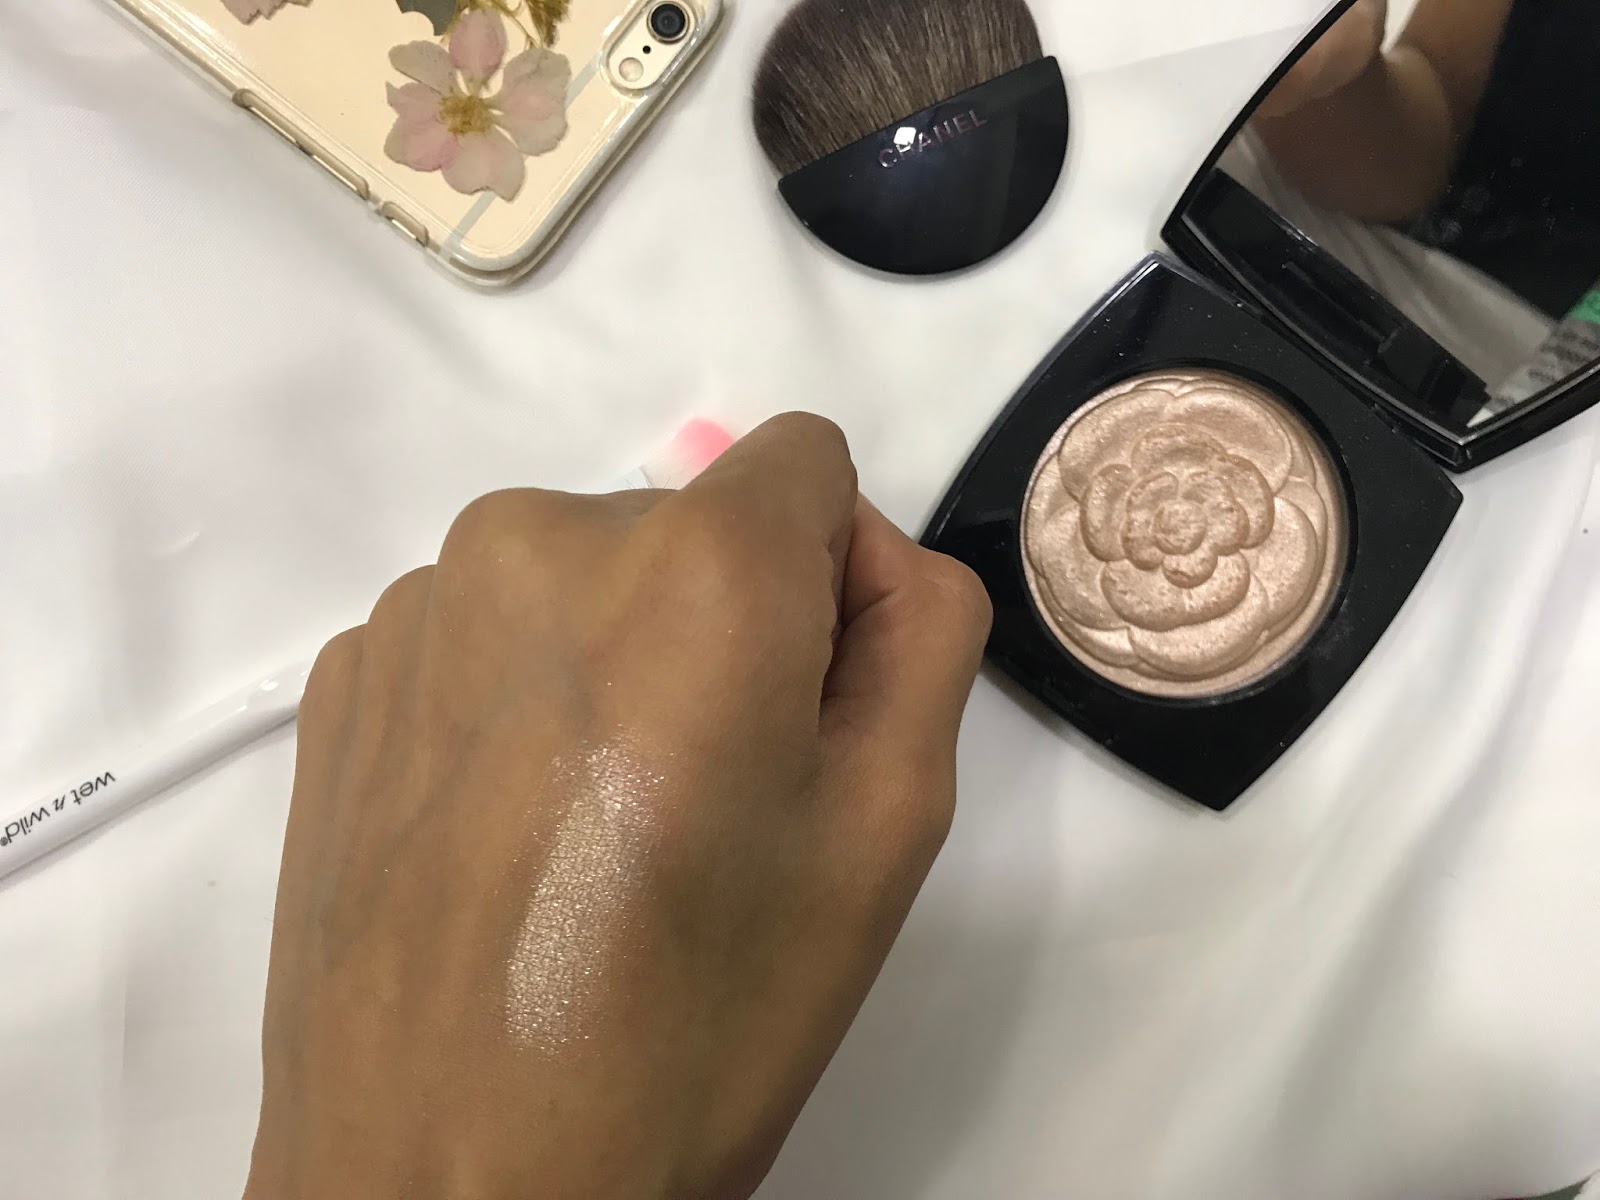
Highlighter:
  • Wet n wild magaglo highlighting powder – precious petals
  • Anastasia Beverly Hills Sugar glow kit – Marshmallow + Starburst

EYES

Mascara: 
  • Benefit cosmetics roller lash mascara

Eyebrows: 
  • Benefit cosmetics goof proof brow pencil

LIPS
  • Huda beauty liquid matte liquid lipstick (shade: Icon)


Share
Tweet
Pin
Share
No comments
Hey guys!
So this is going to be one of my most favourite and also highly expected post. It’s all about glow and how you can look like you’ve swallowed the whole sun itself.

I am a highlighter fanatic and that explains why I have collected so many of these highlighters over the past few months, and there are a few in my bucket list. I love this trend as you can do so much with your overall makeup look by just choosing the intensity and the location of your highlight. Can we just take a moment of silence for this majestic product?
Here are the highlighters that I own and use for different kinds of looks and if I’m feeling extra I just wear all of them together and I have no shame in admitting that.

Wet n Wild megaglo highlighting powder in Precious Petals
This has to be the absolute favourite highlighter that I have. It has an amazing creamy, soft texture. The colour itself goes so well with my skin tone and it does not accentuate my pores at all. You can build it up and it will still not make you look oily. It’s just a glow gone right. You can apply just this and nothing else on your skin and you’re still good to go. I’m so thankful that this highlighter exists.

Camelia de Chanel
This of course had to make a feature on my post. It’s one of the first highlighters that I bought and with every use I get a little sad as this is a limited edition highlighter and I probably won’t ever find it again. Anyways this pearl coloured highlighter is best suited for a natural glow. You can build it up but it doesn’t have a blinding effect that most people love. The down point of this highlighter is that sometimes it leaves little chunks of glitter however it’s not exactly a glittery highlighter. The little fragments that go all over the place can easily be dusted of with a clean brush.

Smashbox Spotlight palette in Gold
To start off with I was a little disappointed with this highlighter palette as I thought all the three pans will show glows of different intensity. These are quite powdery however if you work with all the three together they’ll give you the best natural glow. The gold shades complement with my skin and the intensity is perfect for an everyday look. They are a little powdery, specifically the first shade - Turn it on. It has a little bit of a chalky feel but it provides a good base for the other two highlighters to work with.

Maybelline master strobing cream in Pink
This is the only liquid highlighter that I own (for now :P). The pink undertone of this strobing cream gives a healthy finish to your skin. I usually apply this under my foundation but you can even apply over it, alone or paired up with a powder highlight. Whatever works for you. As all liquid highlights have quite high intensity I like using it under my foundation. It goes well with foundations as it has a tacky feel after it dries off hence won’t let your foundation move around.

Here are the swatches of all the highlighters side by side.

So everyone has their own way of applying highlighter. Here’s how I glow for the day moreover some tips to help you REFLECT like a diamond.
  1. For people with texture on their skin this is for you. Usually people have pores on the medial side of their cheeks so make sure you want to apply your highlight as far away from it as possible. Wearing highlight on your pores or bumps will just make them more prominent.
  2. To make your nose look short, pointed and cute just apply the highlighter on the tip of your nose. And if you want to make your nose look a little bigger add that glowy shit to the bridge of your nose too. Create an exclamation point, missing a little part just above the tip of your nose as doing so will make your nose look pointed too.
  3. If you’re going for an everyday look and just want to wear highlight, you can spray some primer water, like the one from smashbox which I always use. Wait for it to dry just a little and then you can go on dusting that highlighter of yours.
  4. The last tip is to make any highlighter intense, spray some water or a primer water on the brush which you’re using to highlight with and then dip it in your highlighter and apply it. This method will make you look like the glowing goddess that you are and will also help your highlighter last longer.
Smashbox Photo Finish Primer Water
Also the brush that I use for my powder highlights is from P.A.C. cosmetics. It is a fluffy angled brush and hits right on the high points of my face. The size is decent enough to help me highlight my nose even.


So bada boom, bada bing! Here’s how you become the queen of glow land. Blind them folks with your shine. This was all about my highlight routine. I hope you find it helpful. Please leave a comment if you did find it helpful, would like to share your ideas or just some random suggestions about any future posts.
Share
Tweet
Pin
Share
No comments
Older Posts

Follow My Blog

Follow Me

Labels

Audrey Hepburn Everyday makeup Haul Highlighter MAC acne night routine chanel converse dior hair care nykaa sephora shein wet n wild

Popular Posts

  • How to Maintain Your Skin After Recovering From Acne
  • Very Real Morning Routine (no make up)
  • Aesthetic Makeup Haul
  • Duty Free Make Up and Beauty Haul

recent posts

Blog Archive

  • ▼  2019 (1)
    • ▼  March (1)
      • Very Real Morning Routine (no make up)
  • ►  2018 (18)
    • ►  November (1)
    • ►  September (2)
    • ►  July (1)
    • ►  June (1)
    • ►  May (2)
    • ►  April (2)
    • ►  March (2)
    • ►  February (2)
    • ►  January (5)
  • ►  2017 (7)
    • ►  June (2)
    • ►  May (2)
    • ►  April (1)
    • ►  March (2)
FOLLOW ME @DHAWANSHI

Created with by BeautyTemplates | Distributed by Gooyaabi Templates