• Home
  • Beauty
  • Fashion
  • Makeup
  • Review
  • About
  • Contact

DHAWANSHI


Hello guys!
I’ve not made any post about me reviewing products in a while. I love such posts as they really help you know whether you should buy a particular product or not. So here’s my opinion on the Huda beauty faux filter foundation.

In March Nykaa added this foundation to their site. I’ve wanted this foundation since the time Huda announced that she’s working on a foundation.

This foundation caters to 30 different skin shades although they just sell 28 of them on nykaa. To find my perfect match I did some research online. The best part was that Huda’s team has provided a shade comparison guide on her website (click here for the comparison guide) which made it all the more easier for me to find my shade.
I’m an NC42 in MAC so my perfect shade was anywhere between Macchiato 400G, Brown Sugar 410G and Toffee 420G. I decided to go with the darkest shade i.e. Toffee 420G (G stands for gold as in gold undertone) because I didn’t mind going a little dark as I can lighten the shade using a lighter foundation. I also found that it has a slight red undertone.

The foundation is packed in a frosted glass looking plastic bottle which is of a real good quality. Also I’m glad that they used plastic instead of glass as it’ll be lightweight and won’t break unlike glass packaging, making it travel friendly.

So this is supposed to be a full coverage, filter looking, matte finish foundation. And it does claim to do what it says. It is very high coverage and I just need one pump to cover my whole face.  The thing that I loved about it was the fact that it even helped me cover up my pores. Some foundations accentuate my pores making my foundation look cakey but this is nothing like those foundations. Also the surprising thing was that it didn’t feel heavy which I loved the most. I don’t like the feeling of some foundations as it feels like you’re wearing a mask which you just want to take off.

The only downgrade about this foundation is that it has a very strong smell which you’ll hear everyone point out. Some people breakout because of scented products but for me personally I cannot take any strong smells as they immediately trigger the worst kind of headache for me. This foundation has a pretty strong smell, it smells just like the “Blue lady” perfume and I only know this because a friend of mine uses this perfume.The scent itself is quite good but it's just too intense.

I hope you found this review helpful. Thank you!

Share
Tweet
Pin
Share
No comments

Hey guys!
Hygiene to me is extremely important and the thought of dirty brushes touching my face makes me gag. If you’re spending so much on that cream then why not invest a little time and money on keeping your makeup brushes clean?
Your face has really sensitive skin, and unclean brushes are breeding sites for bacteria and looking at it this is not that great of a combination.

Here are things I use/do to keep my brushes clean.

DIY brush cleaner
This step is to deep clean your brushes which you do at least once a week or 2 times a month depending on how often you apply your makeup. I just use a mixture of baby oil and baby shampoo/baby wash. I soak my brush in the mixture and run the bristles of the brush over the palm of my hand or this silicone brush cleanser that I bought from nykaa. I prefer using the silicone brush cleanser as using your hands to clean too many brushes would make your hands dry and irritated. Just rinse off after you’re done cleaning them.

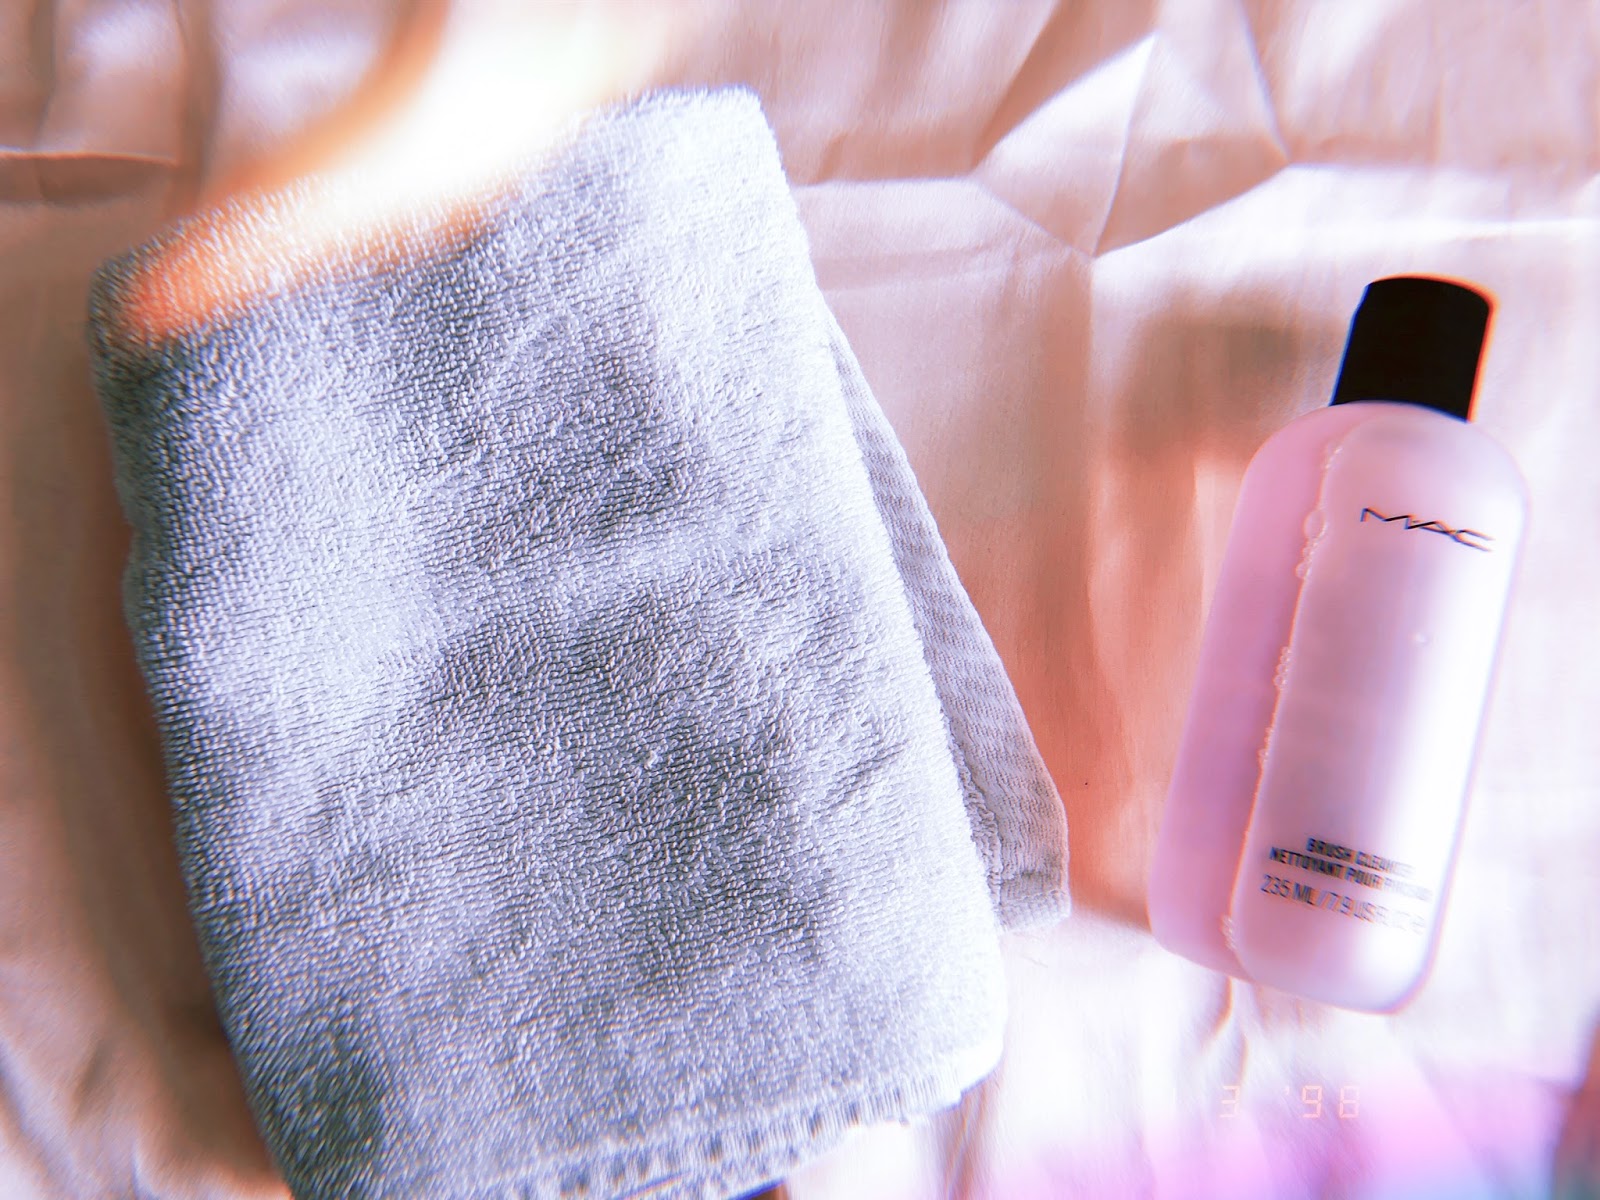
MAC Brush Cleanser
This is one of the best product ever, especially for a person like me who likes things to be clean and perfect all the time. I use this to clean my brushes immediately after I use them. I just pour a little bit of this product on a clean napkin and rub my brush over it until it is clean. This also comes in handy when you want to use the same brush for two or more purposes and you have to clean up the debris of the previous product.

The MAC one is obviously quite expensive and instead you can buy:-

NYX on the spot makeup brush cleaner spray: http://www.nykaa.com/nyx-professional-makeup-on-the-spot-makeup-brush-cleaner-spray.html?ptype=product&id=190778

PAC brush cleaner: http://www.nykaa.com/pac-brush-cleaner-2-minute-cleaner.html?ptype=product&id=82267

There are many more brush cleaning products which you can find in stores or online, although these are the ones that I use. Buy the ones that fit your necessities and you're good to go.
I hope this post was helpful.

Thank you!

Share
Tweet
Pin
Share
No comments

Hey guys!
It has been a hot minute since I've uploaded anything but I’m back with almost new everything. So I decided that I should really begin with the tools that I use to do my make up instead of just creating and posting my looks first. It’ll basically give an idea on why and how I use certain tools.

These are the face brushes that I use, the ones which I basically use to apply my base makeup.

Fluffy angled brush
I bought this brush about 6-7 years ago and I don’t remember where I bought it from neither does it have any name written on it. But you can find this kind of brush almost anywhere. I use this to apply my blush. The angle on the brush hit the right spot on my cheeks and the fluffiness of it really helps to blend the blush and make it look more natural. It is one of my ride or die brushes.

PAC Angle fluffy brush – 215
This is almost like the smaller version of the above fluffy brush. I use it to apply my highlighter as it hits right on to my highlighting areas and blends out the edges. I’m not a huge fan of the fan brushes used to apply highlighter as they just concentrate the powder to one particular area and I don’t like the final look of it. Although, this is not a necessary brush as you can even apply your highlighter with your fingers or even a beauty sponge too.

Forever 21 brush
I just totally made that name up. This brush doesn’t have any name and it comes with bunch of other brushes at Forever 21 that look so pretty. When I first bought the set I didn’t really expect all of the brushes to be so soft. This brush in particular I use the most to set my face with a powder. It is the perfect density and the tapered end perfectly fits under my eyes while I’m setting them. Also its big enough to quickly help me set my whole face with loose powder.

Fluffy Forever 21 brush
This one came in a set too which I bought long time ago. I like that it’s a little flat from the side and fluffy too which helps me apply my bronzer/contour and also seamlessly blend it out. The size is perfect to sit under my cheek bones and other small areas where I have to apply my bronzer. I don’t like using a lot of bronzer, I just use it to give some dimension to my face and not tan myself  like some beauty guru’s do with a big ass brush.

These are my eyeshadow brushes. My eye makeup has to look perfect out of everything and so I own quite a few. Each one has its own purpose.

Small pencil brush
This brush again I bought few years back and this one too has no name on it. This is a small brush with short bristles and is really good for applying eyeshadow under the eyes and highlight the inner corners of my eyes or the brow bone.

Pro Arte tapered shadow blending brush
I use this brush to apply shadow which I want to be diffused in a certain place. I usually use it after the transition shade, mainly to apply the eyeshadow below the transition shade. Sometimes I use it on the outer corner of my eyes to deepen and diffuse the outer corners.

Wet n Wild large eyeshadow brush
I use this brush to either apply the lid colour or when I don’t have and clean blending brush and I just want to blend out the overall edges of the eyeshadow. It is perfect to diffuse out the shadows in your under eye area too.

MAC – 217
What is a brush collection without this brush. This brush is almost like the above wet n wild brush but a bit more precise. I usually use it to apply the lid shadow and sometimes to deepen up my crease shadow a bit. But if you don’t want to invest in such an expensive brush you can always use the above wet n wild brush.

MAC – 224
This is one of my ride or die brushes too. I cannot live without this one. It is the best blending brush. It blends the shadow so seamlessly and is the best brush to apply the transition shade with.

Faces angled eyeshadow brush
I have this brush with me for so long. It is the best to get a proper diffused cat eye effect for the eyeshadow. The angle really helps give off a wing and the fluffiness blends the edges well.

theBalm dual ended brush
I like the fact that this is a dual ended brush. I wish they made more brushes like these so it would be easier for travelling. I use the fluffy side of the brush to deepen up the crease or the outer corner of my eyes and the flat end of the brush I either use under my eye or to apply a simmer eyeshadow to my lid.
These are my absolute ride or die eyeshadow brushes
Also guys I didn’t mention this earlier but I use the Real Techniques Miracle Complexion Sponge to apply my liquid foundation. This is the best sponge ever and gets bigger after wetting it. The best thing is that it doesn’t absorb too much of product that many other sponges do.

You can buy some good and affordable make up brushes from:

  • Nykaa's in house brushes
  • NYX cosmetics
  • Wet n wild
  • PAC cosmetics
  • L.A. Girl
I hope this post was helpful. You can comment down below in case you need help with buying good brushes.

Thank you!

Share
Tweet
Pin
Share
No comments
Hello lovey people!

A while ago I was shopping at H&M and I came across these striped pants with navy blue stripes. It just caught my eye and I was hovering around the area trying to convince myself get out of my comfort zone and to try something different. I’m the kind of person who doesn’t take any fashion risks, I just stick to my denim and leggings. But I finally bought it and this is how I decided to wear it on one of my outings.


These pants are stretchy and high waisted which makes them all the more comfortable. They are ankle length and have small cuts down the ankle region which I really like. The stripes on these pants are navy blue coloured which can’t be really seen from these pictures.


I wanted this outfit to be a mixture of classy and flirtatious and so I decided to pair it with this black bodysuit. It is a ribbed stretch knit bodysuit with a scoop neck and back.


I knew I had a lot of walking around to do on this day so I decided to wear my classic white converse making this more of a casual outfit. However you can wear strappy black blocked heels with this outfit to make it more edgy.

To seal in the look I carried this faux leather backpack which is just the right size to carry all of your essentials. I must say that this bag puts together the whole look and the fact that my hands can remain free is the biggest surplus.


Outfit details:
Bodysuit- Forever 21                        
Pants- H&M
Shoes- Converse
Backpack- Forever 21
Key chain- H&M
Share
Tweet
Pin
Share
No comments
Hello beautiful people!

I’ve been planning to make this post since a long time. Now I finally made it, along with a video. Many people have been asking me to film a make up video, so here it is. Shout out to all three of you! You know who you are.

Making this video was a huge step out of my comfort zone and I’m pretty proud of myself.

Anyways this is how I apply my makeup on an everyday occasion. I don’t wear makeup everyday, but whenever I do it’s either on some special occasion or if I’m going out to meet friends. This could be too much for some people for an everyday look but to be honest, these products are not too heavy, they let your skin breath and even the amount that I apply is not a lot. My main goal is to have an even tone all over my face, and that is the whole purpose of why I use foundation.


So before hopping on to my whole makeup routine I prep up my skin by rubbing ice all over my face. It closes all the pores and makes your skin a little tight. Making the makeup application effortless. It also refreshes you so if it has been quite some time since cleansing up your face you can just do this because come on you can’t wash your face multiple times a days with soap, it’ll do more harm than good.
After that step I apply the Himalaya youth eternity under eye cream under my eyes and on top of the eyelid to hydrate them since those areas are pretty dry.


So my skin has been pretty dry off lately and to hydrate it I have been using Jojoba oil to bring back the moisture. I use the one from juicy chemistry. I applied just a little, enough to get hydration and make my skin a little tacky to help the foundation stick on my face.


Here’s the video on how I do my everyday makeup.


Products used:

FACE

Primer:
  • Benefit cosmetics porefessional
  • Smashbox photo finish primer water

Foundation:
  • Maybelline Fit me! (shade: 322, warm honey)

Concealer:
  • MAC Pro longwear concealer (shade: NW35)

Powder:
  • Innisfree no sebum mineral powder

Contour:
  • NARS Cosmetics pressed powder (shade: Valley; I know this is a pressed powder but I find that this dark shade works great for contouring)

Blush:
  • Milani powder blush (shade: 08; Tea rose)

Highlighter:
  • Wet n wild magaglo highlighting powder – precious petals
  • Anastasia Beverly Hills Sugar glow kit – Marshmallow + Starburst

EYES

Mascara: 
  • Benefit cosmetics roller lash mascara

Eyebrows: 
  • Benefit cosmetics goof proof brow pencil

LIPS
  • Huda beauty liquid matte liquid lipstick (shade: Icon)


Share
Tweet
Pin
Share
No comments
Newer Posts
Older Posts

Follow My Blog

Follow Me

Labels

Audrey Hepburn Everyday makeup Haul Highlighter MAC acne night routine chanel converse dior hair care nykaa sephora shein wet n wild

Popular Posts

  • Aesthetic Makeup Haul
  • Very Real Morning Routine (no make up)
  • How to Maintain Your Skin After Recovering From Acne
  • Duty Free Make Up and Beauty Haul

recent posts

Blog Archive

  • ▼  2019 (1)
    • ▼  March (1)
      • Very Real Morning Routine (no make up)
  • ►  2018 (18)
    • ►  November (1)
    • ►  September (2)
    • ►  July (1)
    • ►  June (1)
    • ►  May (2)
    • ►  April (2)
    • ►  March (2)
    • ►  February (2)
    • ►  January (5)
  • ►  2017 (7)
    • ►  June (2)
    • ►  May (2)
    • ►  April (1)
    • ►  March (2)
FOLLOW ME @DHAWANSHI

Created with by BeautyTemplates | Distributed by Gooyaabi Templates